Pages

Showing posts with label Cards - Thank You. Show all posts

24 August 2014

Make and Take card directions from Open House

For all you lovely ladies who were not able to make it to my Open House, here are the directions to put your card together.

1.  Make sure you have all the pieces. (Somehow I forgot to put some pieces in some of the envelopes so hopefully you got a complete one LOL)  The card base is cut from Champagne cardstock, the reds are Ruby cardstock and the patterned papers are from the NEW Yuletide Carol paper pack which I am finding VERY versatile and not just for Christmas papercrafts.


2.  Attach the sentiment to its base so that it is centered.  The sentiment is D1542 - For a Friend.  This stamp set coordinates with the CTMH Cricut Art Philosophy cartridge.  I stamped the sentiment in Ruby Ink.


3.  Attach large banner to it's corresponding base so that the top of the two pieces line up - as shown in picture.  
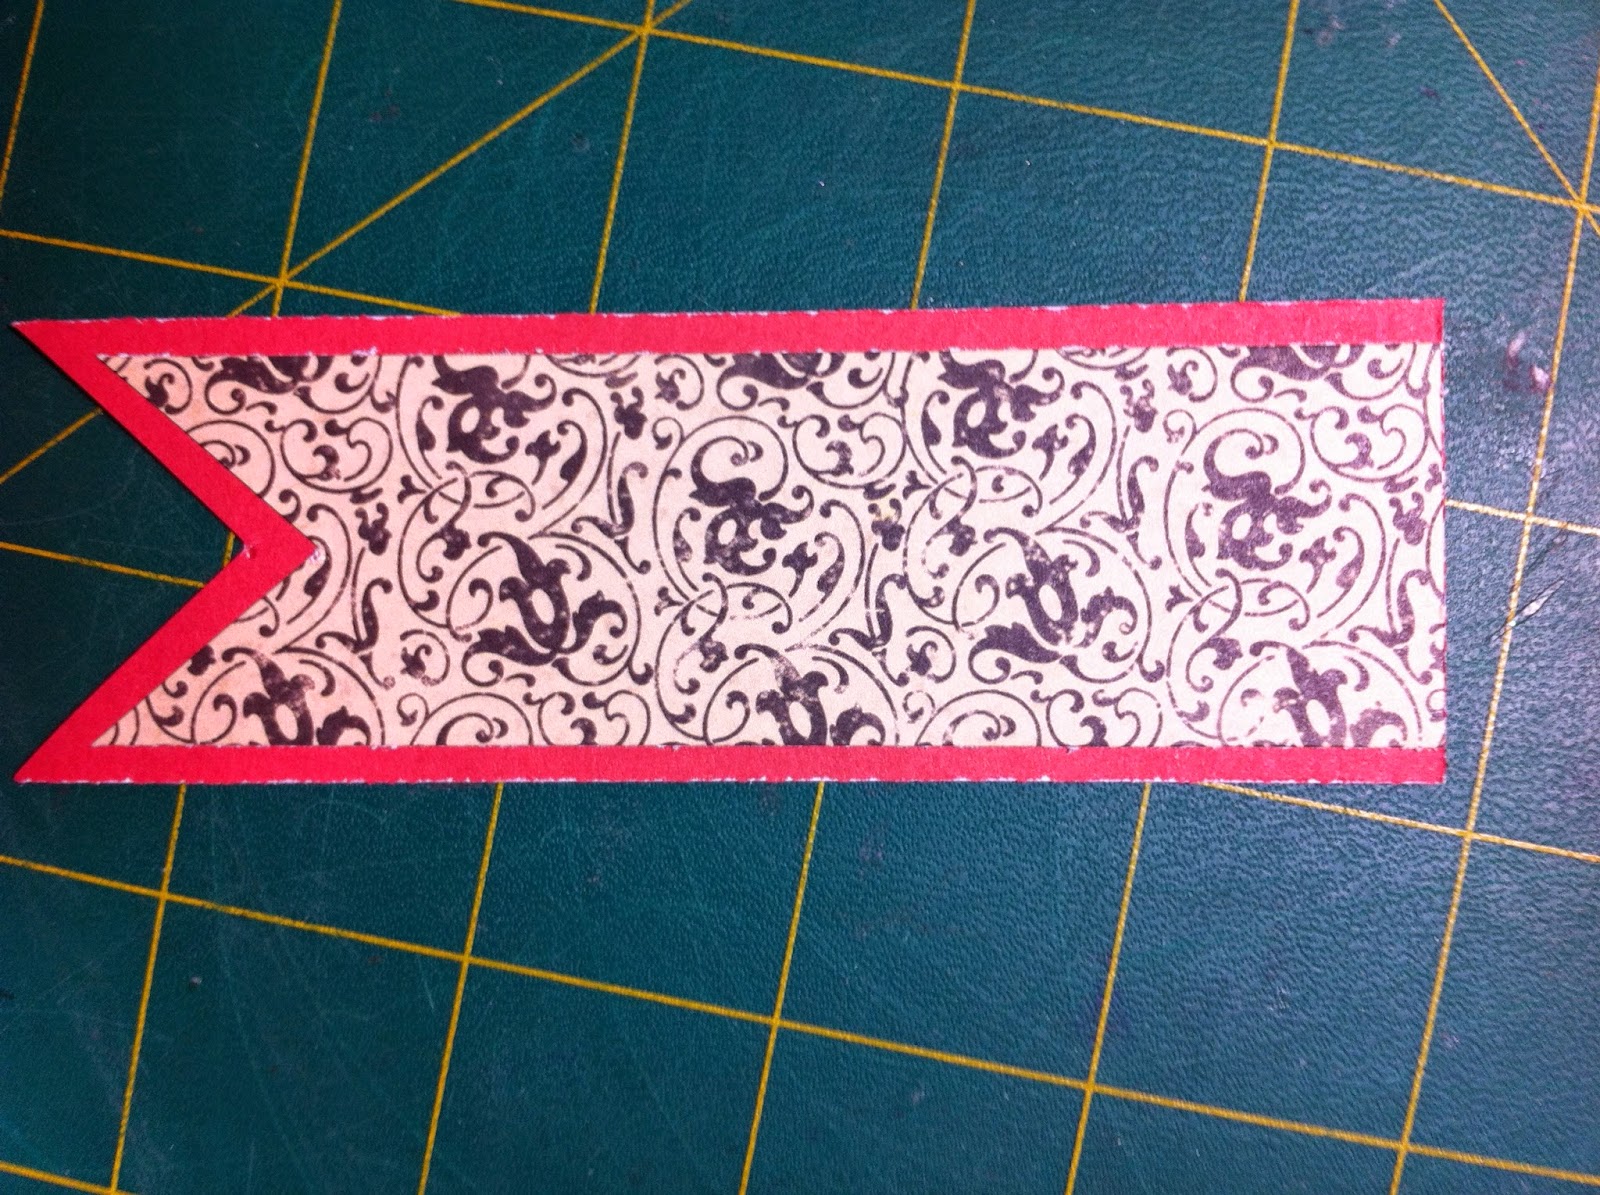
4.  Do the same with the small banners.  The small banners you will need to start at the pointy ends to have a little space showing - as in picture - as there may be some trimming needed  at the top in some of the kits.


5.  Emboss your rectangle of Colonial White cardstock with your favorite embossing folder.  I used the CTMH Floral one.  I am LOVING our embossing folders.  They get a really deep impression and the folders are larger than what I've found with other manufacturers.  LOVE LOVE LOVE!!!!


6.  Attached embossed piece to the Ruby cardstock rectangle.  


7.  Attach that piece to the card base.  


8,  Attach large banner to the card.  The top of the banner should line up with the TOP of the embossed piece and be centered between the two sides.


9.  Attach the two small banners.  Attach them so they are about 1 inch from the bottom of the big banner, lining up the patterned papers of the small banners with the patterned paper of the large banner as shown in picture.  


10.  Attach sentiment over the two smaller banners so that the top of the sentiment is approx 3/4 of an inch from the top of the card.  


11.  Add one gem ( Z1752 - Sparkles Clear Assortment ) to each of the four "corners" of the sentiment - on the Ruby one - and you are DONE!


I have an extra seven card kits left if anyone wants to put one of their own together. The price includes the card kit - pre-cut and pre-stamped - plus an envelope for mailing out to whomever you want.  :-)

There are two options available - one if you want to pick the kit up, the other if you are from out of town and want it mailed to you.


Card Kit

21 August 2011

A month late but ....

I am slipping more than I thought ... I had still not posted the DT projects for May!  Why didn't you tell me???  (On a side note, I didn't give the ladies any supplies for June, so there will be no June DT projects posted.  *sigh*  I'm actually giving them the summer off so you won't see them again until the end of September.)

(ETA:  I am truly losing my mind.  I thought I had posted this but then noticed today (8/21) that I had just clicked SAVE and not POST so it never posted! So, technically, the post title is wrong too but not changing it.  Argh!)

The girls played with the Miracles paper pack papers, Love Letters rub-ons, and the Kraft Color Ready Borders!  They did their usual magic, of course, and wowed me with their creativity.  :-)

Irma's!


Gorgeous, yes?  I love how she used some of the borders to create a frill along the top of her pennants.  Inpsired!

Nikki's!


Nikki has a great slap-scrap style, as she calls it!  All the little touches really bring it together.

She also did a card for us! Loving the little details.  :-)


Treasure Life for charity

I made a set of cards for a charity ball that is occuring next month here in the city.  They have an auction and a couple of friends of mine attend and asked if our stamping group would be interested in making some cards to donate.

Of course we said, "Yes!"  I forgot to bring mine for show and tell on stamp club night but the card sets from the other girls were amazing!  Mine seem plain in comparison but that is the look I was going for.  :-)


I used the "Treasure Life" stamp set (it is soooo versatile!).  I have seen various versions of this card on different blogs so I really don't know who to give credit to.  I decided on different colors for each different sentiment, just to mix things up a little.

There are sparkles along the top edge of the black ones but didn't place the card properly to see them in the picture.  (I messed up on two of the black ones when drawing the borders on the card so had to embellish the ooopsies!)

I made a total of 20 cards, 4 of each color/sentiment with matching envelopes and I'm going to put them in two groups of 10.  Now I just have to make boxes to put them in!

Supplies (all CTMH unless specified)
Stamp Sets:
Cardstock:
White Daisy
Inks and markers:
Lagoon
Black
Cranberry
Pacifica
Pansy Purple
Embellishments:
Z1290 - Sparkles

29 May 2011

6x6 Thank You Card

If you ask me, one can never have enough "Happy Birthday" and "Thank You" cards so I decided it was time to add to my collection of "Thank You" ones the other day. 

I based the card on a Becky Fleck card sketch from March of 2011.  I love how it turned out for the most part.  I really should have inked the edges of the patterned paper I used on the background to make it pop more against the cardstock base.  Oh well ... Note to self:  Lay the paper on the cardstock BEFORE adhering it next time to see if  inking is needed. 


This shot shows you the tiny bits of bling a little bit better on the card.  I had originally put an opaque on every second piece of 'lace' that jutted out BUT there were an odd number of pieces jutting out so there were two spaces left and it looked silly.  Another "Note to self" moment!  Argh!  


Supplies (all CTMH unless specified):
Cardstock:
Bamboo, Vanilla Cream and Black
Patterned Paper: 
Stamp Sets: 
Embellishments: 
Other: 
Black Ink
1.25" circle punch (Stampin' Up)

Card instructions:
1.  Cut Bamboo 12x12 cardstock in half and score that piece in 1/2 so you end up with a 6x6 card base.
2.  Cut Bliss pattened paper sheet into a 5.5"x5.5" square.  Ink edges (LOL) with Black Ink and adhere to card base front. 
3.  Cut a 5" circle from Black cardstock. 
4.  Cut a 4.5" circle from Bamboo cardstock.  Stamp with lace edge image from Simple Memories stamp set.  Ink edges of circle and adhere to black circle.  Mount on card base.
5.  Stamp "Thank You" image from Salutation Seals stamp set on Vanilla Cream cardstock and punch out using 1.25" circle punch (or with scissors).  Ink edge.  Adhere to center of round lace image.
6.  Adhere Pearl Opaques to each lace piece of image. 

10 March 2011

Thank You Card

I made this card for last month's challenge and forgot to post it!  Argh!  :-)

I used the same papers (More to Adore - retired) as I had given the DT girls and the only thing non-paper is the brad in the center of the flower.  I even made the flower using the scallop punch.  FUN!


21 November 2010

"Thank You"

I made a couple of these as a "Thank You" for some clients of mine who recently ordered from me.  I don't typically like working with oranges and yellows but am really happy how these turned out.

The cards are based on a card by K Werner.  She is incredibly talented. 


Supplies used:
Cardstock: CTMH - Honey, Autumn Terracotta, and Chocolate
Inks: CTMH - Chocolate
Ribbon: CTMH - Chocolate Grosgrain
Stamp Sets:
Thanks for looking and happy crafting!