Pages

30 August 2014

First Birthday Party Favor

Our grandson turned one in the middle of August and I wanted to add a little something to his party on top of everything his parents already had planned. 


The party theme was Monkey as it is their pet name for him so I went with the theme and did this ......


They turned out better than I anticipated.  

The 250ml chocolate milk is from our local dairy, Blackwell Dairy, and were  the perfect size for what I wanted to do.  

I removed the label and wrapped the container with our Babycakes patterned paper and then on regular Colonial White cardstock, I stamped the monkeys using C1558 - Wild Wonders stamp set, and the sentiment using D1407 - Piece of Cake stamp set (retired).  I used Chocolate Ink since it was the perfect Monkey color and went with the chocolate milk, too!

For the lid I just punched some circles into the Babycakes paper and then overlapped that with a monkey stamped circle. Fit perfectly.

Thanks for looking!

24 August 2014

Make and Take card directions from Open House

For all you lovely ladies who were not able to make it to my Open House, here are the directions to put your card together.

1.  Make sure you have all the pieces. (Somehow I forgot to put some pieces in some of the envelopes so hopefully you got a complete one LOL)  The card base is cut from Champagne cardstock, the reds are Ruby cardstock and the patterned papers are from the NEW Yuletide Carol paper pack which I am finding VERY versatile and not just for Christmas papercrafts.


2.  Attach the sentiment to its base so that it is centered.  The sentiment is D1542 - For a Friend.  This stamp set coordinates with the CTMH Cricut Art Philosophy cartridge.  I stamped the sentiment in Ruby Ink.


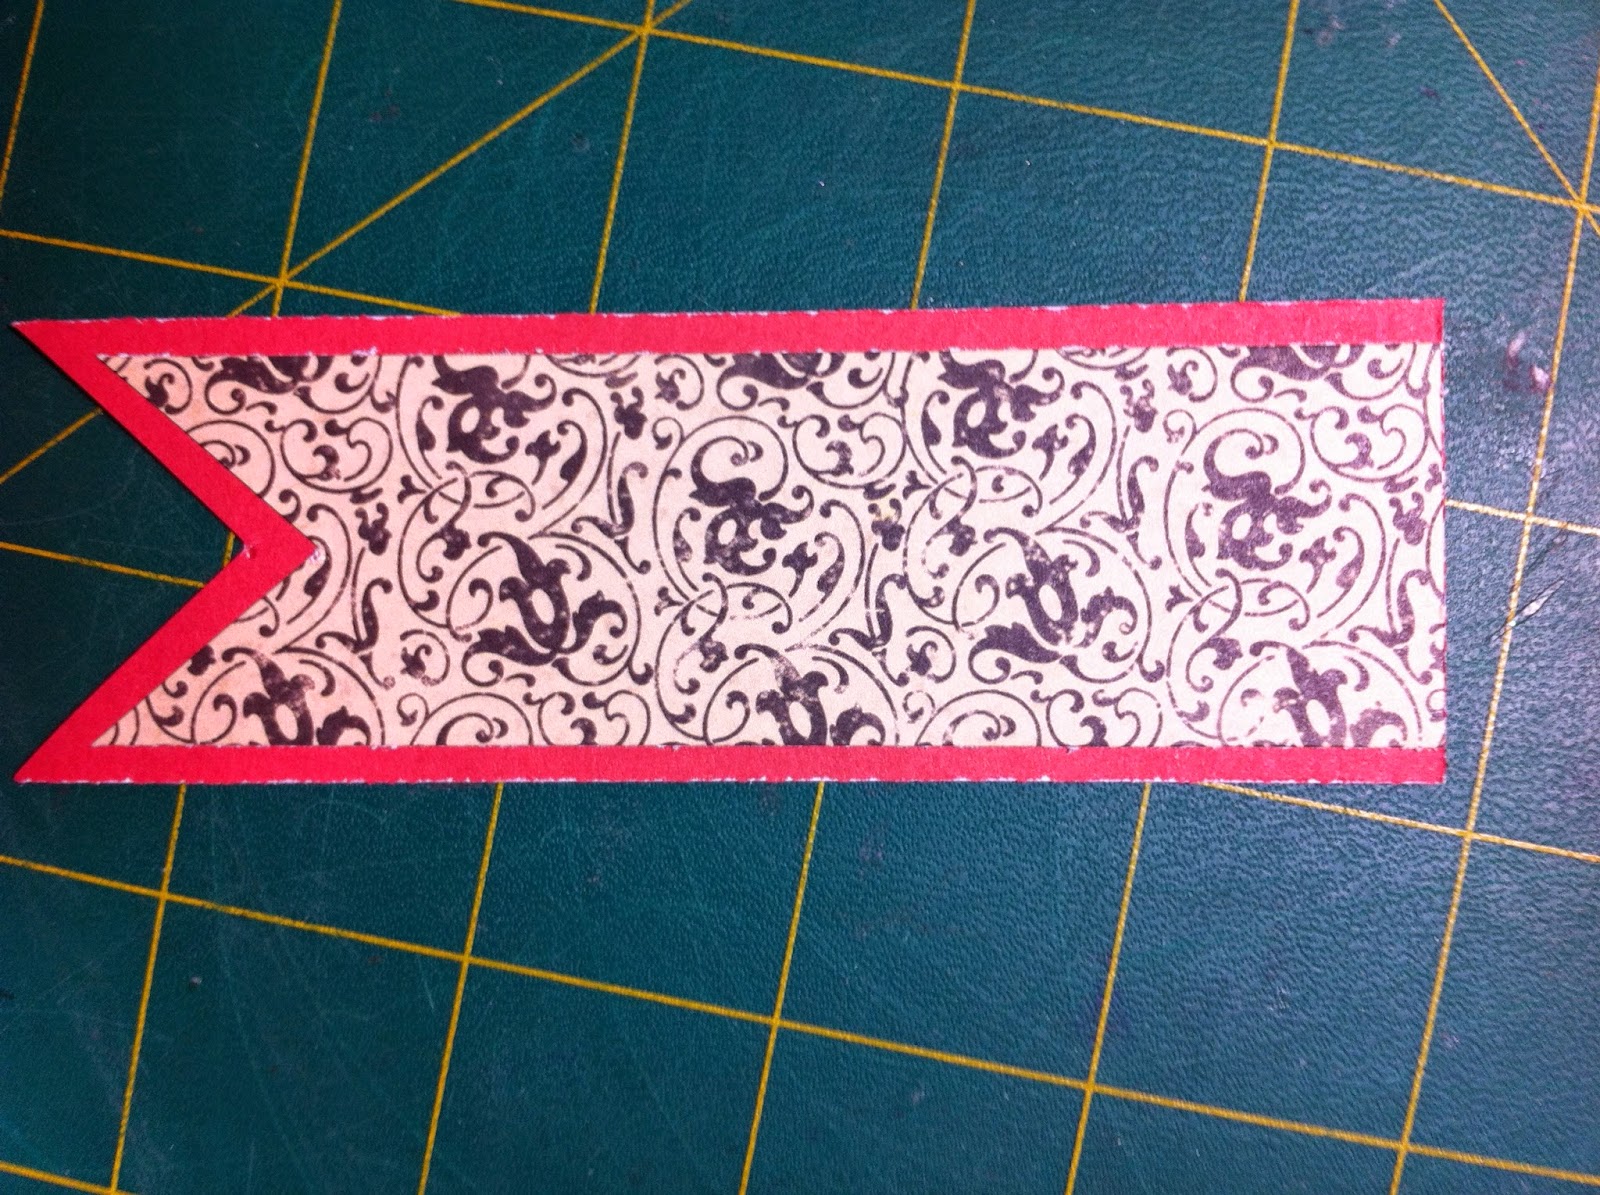
3.  Attach large banner to it's corresponding base so that the top of the two pieces line up - as shown in picture.  

4.  Do the same with the small banners.  The small banners you will need to start at the pointy ends to have a little space showing - as in picture - as there may be some trimming needed  at the top in some of the kits.


5.  Emboss your rectangle of Colonial White cardstock with your favorite embossing folder.  I used the CTMH Floral one.  I am LOVING our embossing folders.  They get a really deep impression and the folders are larger than what I've found with other manufacturers.  LOVE LOVE LOVE!!!!


6.  Attached embossed piece to the Ruby cardstock rectangle.  


7.  Attach that piece to the card base.  


8,  Attach large banner to the card.  The top of the banner should line up with the TOP of the embossed piece and be centered between the two sides.


9.  Attach the two small banners.  Attach them so they are about 1 inch from the bottom of the big banner, lining up the patterned papers of the small banners with the patterned paper of the large banner as shown in picture.  


10.  Attach sentiment over the two smaller banners so that the top of the sentiment is approx 3/4 of an inch from the top of the card.  


11.  Add one gem ( Z1752 - Sparkles Clear Assortment ) to each of the four "corners" of the sentiment - on the Ruby one - and you are DONE!


I have an extra seven card kits left if anyone wants to put one of their own together. The price includes the card kit - pre-cut and pre-stamped - plus an envelope for mailing out to whomever you want.  :-)

There are two options available - one if you want to pick the kit up, the other if you are from out of town and want it mailed to you.


Card Kit

04 August 2014

Picture My Life™ scrapbooking programs

Aside from being a quick, functional way to preserve your memories (I am making TWO albums for my grandson's great-grandmothers), the cards from the Picture My Life sets make amazing cards and traditional scrapbook pages.  Embellish them or use them as is.

The best part is that each Picture My Life kit comes with the divided page protectors and they ALL coordinate with our patterned papers and cardstock!  I LOVE these kits.

Watch the video .... you won't regret it.  I will try and get some of my projects, that I made for my Open House, posted in the next couple of days.


Contact me or go to my website, to order your own Picture My Life collection