Pages

Showing posts with label Projects. Show all posts

22 May 2011

Desk Set with Instructions

I craft once a month with a wonderful group of ladies!  Usually one of the group each month brings something paper crafted for the whole group.  Last month a bunch of them brought paper crafty goodies with Easter themes for everyone in the group.  A couple of us decided we needed to do something this month since we didn't bring anything last month.  :-)

The month got away from me, of course, and when the reminder about group night showed up, panic mode set it.  It was then a race to find something quick and easy but fun to make for them.

This is what I came up with:


A personalized post-it note holder - pretty and functional.

It's a quick project that is also useful.  I found this idea on another blog but made it my own.  The original project has a ribbon tied around the top above the post-it note pad but I decided to just put a line of bling on it, just above the monogram.  I love the more simplistic look it gives. 

If you've got a dollar store near you, that is the best place to find the 4x6 acrylic frames that are used for this. 

You can see from the side view how it would sit on your desk. 

I just cut a 4x6 pieces of the Sophia papers - which happened to go so well with the colors of the post-it note packs I picked up.  I opted not to buy dollar store post it notes for this as they never seem to come apart or stick as well as the name brand ones.

Anyway ... slide the paper into the photo frame. 

I then cut mats for the monogram pieces that closely matched the color of the post-it notes.  Mine measure 2.25x2.25 inches.  The monograms are then stamped onto 2x2 inch pieces of White Daisy cardstock and the edges of each piece are inked.  The stamp set I used on this one is the Bohemian Alphabet, which I love.  The swirl (and flower I stamped onto each post-it note pad) is in the same stamp set! Bonus!

I adhered the post-it note pad to the acrylic frame using our Tombow Adhesive, just running a strip along the top of the back of the pad.  I mounted it, leaving a 1/4 inch space along the bottom and right hand side of the frame.  (You could also, maybe, just remove the brown paper backing of the post-it notes and adhere it using the post-it note's adhesive so once the pad is used up, it would be easier to add a replacement.  I didn't think of that until just now, of course!  *LOL*)

The monogram square/mat is then mounted, centered in the space to the left of the pad, using the top edge of the pad as the top border. 

Just add some bling in a straight line centered above the monogram and you're done!  I mounted mine so the bottom of the bling was about even with the top of the note pad.  Well, as close as I could eye-ball it, anyway!  LOL

08 May 2011

April DT Projects

These ladies amaze me month after month.  How about you???

For April, I gave each of them papers from the Sophia Level 2 Paper Pack (X7131B), Blush Buttons (Z1370), White Daisy Ric Rac, Pearl Opaques (Z1336), and Hollyhock Ribbon from the Hollyhock Ribbon Collection. 

Their challenge was to create something, anything BUT it had to have a minimum of two circles included in it.  I think they went above and beyond  with that part of the challenge.  :-)

Here are Nikki's creations.  A plethora of cards that are super cute and bright and definitely would bring a smile to anyone who receives one. 


Here is Irma's creation for the month. 

An uber cute Easter treat holder.  She also used the March Stamp of the Month, Sensational Season, inside and out.  Adorable. 


For May, I have given them papers from the Miracle Level 2 paper packet as well as some of the Kraft borders.  I forgot to write down the rest so it will be a surprise to me too once they've completed their May creation.  LOL  No challenge for them for May, though, but it will be a layout that they will be working on. 


16 January 2011

Altered Notepad using Wings


This is the best shot I could get of the interior.  My camera does not like white so changed out the background behind the notepad and that's as good as it gets.  LOL

I've been wanting to do one of these for a while now.  I've seen several versions on various blogs so I don't know who to give credit to but they all influenced me in some way.

I borrowed the interior of Chiaki's second notepad (scroll down if you click on the link) where she made a little pocket on the interior of her folder.  I covered mine with patterned paper, though.

My folder dimenstions for cutting and scoring are different, too, as I had different sized note pads than she did so had to design my own template.

I am absolutely in LOVE with the new Wings paper pack and bought one back in December before it was available to the general public (because I'm special ... but actually because I am a Consultant and we get to get our hot little hands on new items one month before our customers).  I have another set on the way and HOPE it will be here tomorrow.  LOL

Anyway .... when I saw this notepad folder by Jen (Roxybonds), I knew for sure that I wanted to do something almost identical. 

 I love the new butterfly stamp from the January Stamp of the Month.  I am all about butterflies!!!  I covered my stamp in Juniper ink, then daubed on Vineyard Berry down the body and some of the wings, then daubed Black on the outside edges. 

I didn't add any bling or use ribbon on the cover like Jen did but substituted a border punched piece of patterned paper.  I also wanted a way to close the pad, so added a piece of ribbon that I could tie if I wanted.

The sentiment on the front is from the Wings Workshop on the Go, exclusive to the kit, and I can't wait to use the other images from this set on a future project.  Definitely my style.  :-)

Supplies Used (All CTMH unless otherwise noted):
Cardstock: BlackColonial White
Patterned PaperWings Level 2
Border Punch: Stampin' Up
Ribbon: Michaels
Stamp Sets:
D1452 Find Your Style (Jan 2011 SOTM)

14 November 2010

October Design Team projects

This month the girls were given: 

As usual, they both rocked their projects!  I didn't give them a challenge this time, though, and just told them to do what they wanted.

Nikkis' creation:


Nikki also used one of her stamp sets, C1408 Live Inspired, on her page and having the bird on a transparency really helps it pop.  I love that she used paper tearing - one of my fave techniques. Her kids are always so photogenic, too!

Irma's creation:


Love how she used an easel type card on the top of the boxes. The Shimmer Brads as stoppers are really played up by the sparkles on the stars. Fun!


18 September 2010

August DT Projects

This month I gave the girls:
and told them to go to town!

This is what Irma did for you!  She cut the clear cards apart and linked them together using hinges to make this super cute photo stand. 


Nikki stuck with the cards as they are and incorporated a couple of the CTMH stamp sets.  Her first one, adding in D1217 - Free Spirit and for the second one she used Cherish the Moment (May 2010 Stamp of the Month).  They both turned out so cute and the word circles fits inside the round card perfectly!!!  Great idea.


I can't wait to see what they do with Septembers stuff!  Let's just say it will be
Magnifique!  LOL

03 September 2010

July DT Projects ...

For this month, the girls were given papers from the X7125B Zippidee paper packet line along with some co-ordinating accessories.  :-)  I also challenged them to 'alter' something and here is what they came up with!!!

These are from Nikki.  Awesome scrappy pages about her boys fishing along with some detail shots.  Super cute!  She took some of the Dimensional elements and inked and stamped them as her form of altering.  :-)


Here is Irma's project for the month.  She took an old tea bag box and made it something totally new and ca-ute!!!!  Great way to repurpose something that would just get tossed out!  Plus she used the leftovers to make a matching mini book! 


Are these girls amazing or what???  So lucky to have them on my team!

08 July 2010

DT Creations for June 2010 - Nikki

These girls rock it out of the park month after month! This time around they were given papers and cardstock from the X7124B Splendor paper packet collection, and some brads from the Z1215 Autumn Harvest Assortment, and one of the Petite Perks stamp sets from the current Idea Book. :-)

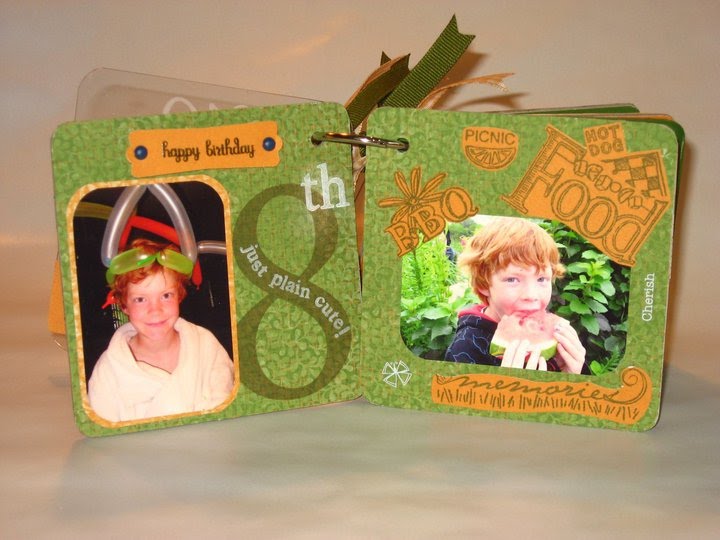
Now for Nikki - she got super ambitious and did a mini album, including acrylic pages!!!  Go Nikki!!