Pages

Showing posts with label Embellishments - Bling. Show all posts

11 January 2015

Heartified: Hexagon Happy Birthday

The internet is where I get most of my inspiration from these days - gotta LOVE Pinterest.  It does have it's drawbacks, though.  If I papercrafted as much as I surfed and Pinned, I'd be all caught up on my scrapbooks!  LOL  I think I hear a New Years resolution coming on. 


Time to start setting my timer when I sit down at the computer.  Won't be so bad, though, once I get the desk and computer moved upstairs into one of the spare rooms that I have designated our new office.  The distraction sits in my craft room right now and it needs to be gone!  :-)


Anyway, I saw this card  on Pinterest and I am really into Hexagons right now so I knew I had to CASE it, using CTMH products of course!


Here is what I came up with:


Supplies (all CTMH unless specified):
Cardstock: Juniper, Cotton Candy, Colonial White
Inks:  Juniper, Cotton Candy
Embellishments: Z1263 - Bitty Sparkles, Z1732 - Color Ready Seam Binding ribbon
Punches:  Flower
Other:  Artbooking Cricut Cartridge

24 August 2014

Make and Take card directions from Open House

For all you lovely ladies who were not able to make it to my Open House, here are the directions to put your card together.

1.  Make sure you have all the pieces. (Somehow I forgot to put some pieces in some of the envelopes so hopefully you got a complete one LOL)  The card base is cut from Champagne cardstock, the reds are Ruby cardstock and the patterned papers are from the NEW Yuletide Carol paper pack which I am finding VERY versatile and not just for Christmas papercrafts.


2.  Attach the sentiment to its base so that it is centered.  The sentiment is D1542 - For a Friend.  This stamp set coordinates with the CTMH Cricut Art Philosophy cartridge.  I stamped the sentiment in Ruby Ink.


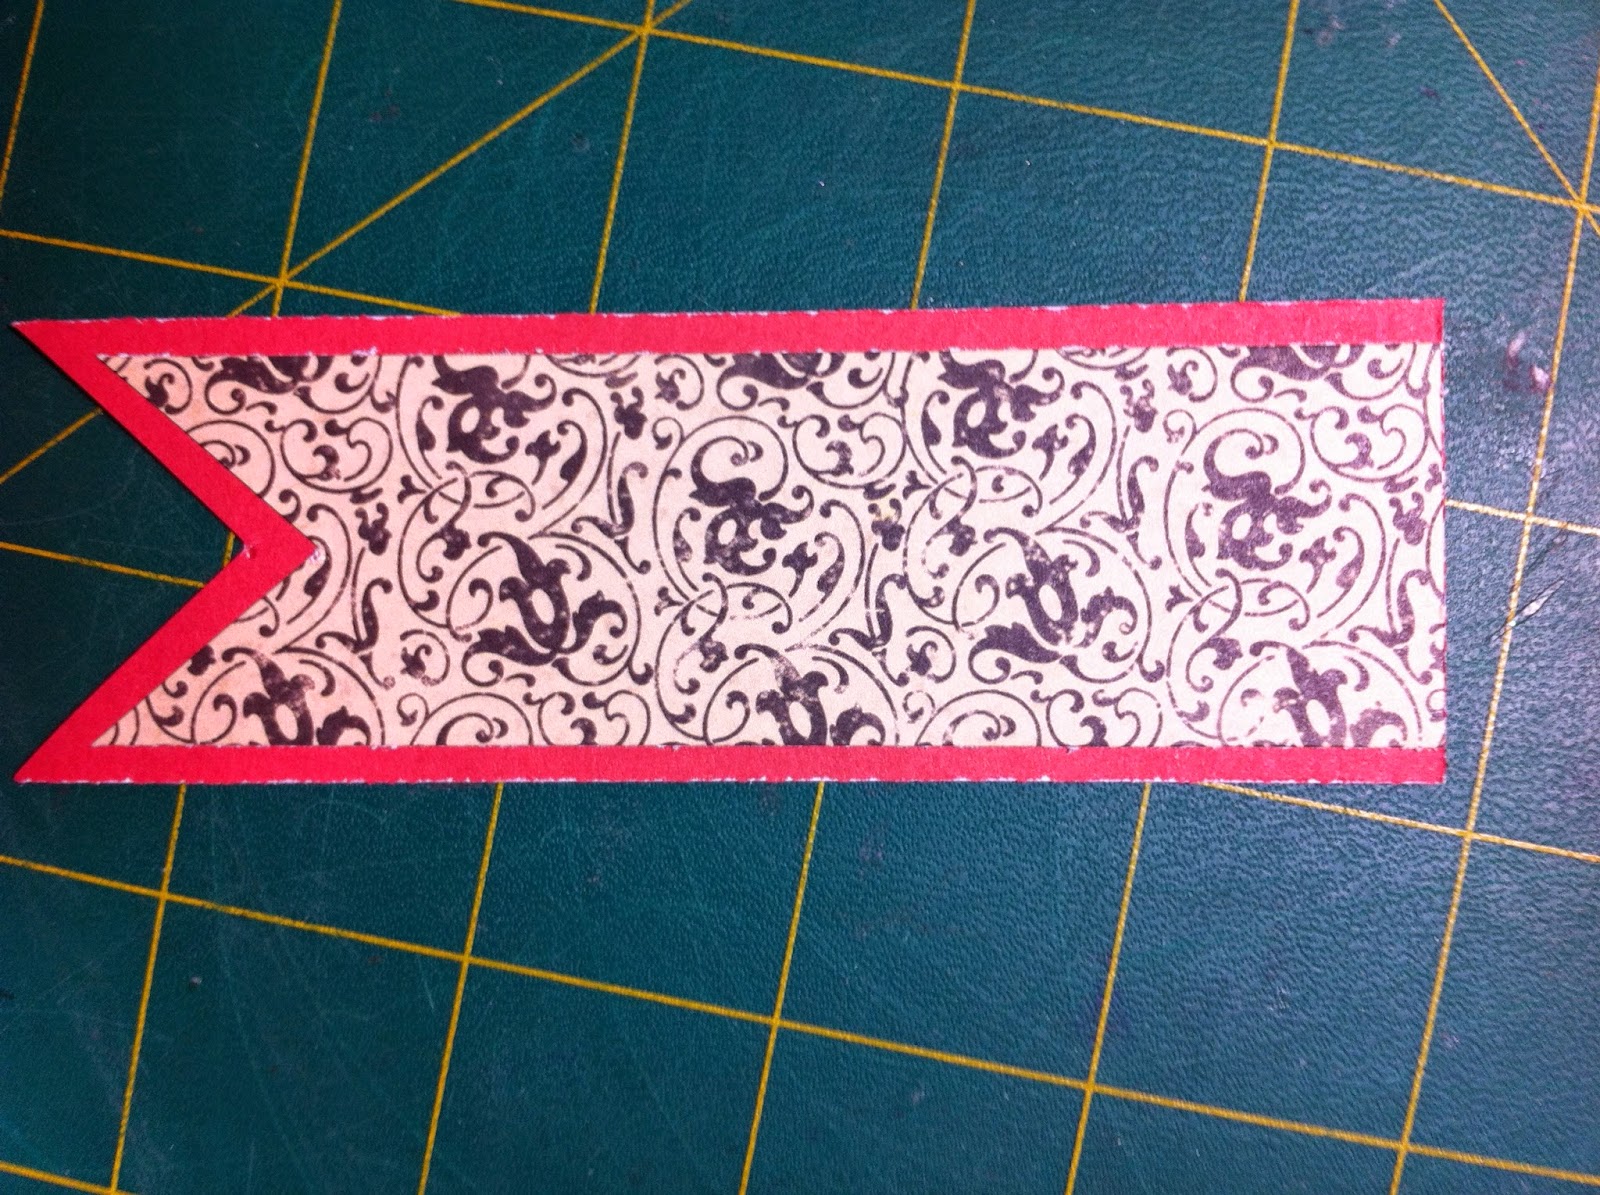
3.  Attach large banner to it's corresponding base so that the top of the two pieces line up - as shown in picture.  

4.  Do the same with the small banners.  The small banners you will need to start at the pointy ends to have a little space showing - as in picture - as there may be some trimming needed  at the top in some of the kits.


5.  Emboss your rectangle of Colonial White cardstock with your favorite embossing folder.  I used the CTMH Floral one.  I am LOVING our embossing folders.  They get a really deep impression and the folders are larger than what I've found with other manufacturers.  LOVE LOVE LOVE!!!!


6.  Attached embossed piece to the Ruby cardstock rectangle.  


7.  Attach that piece to the card base.  


8,  Attach large banner to the card.  The top of the banner should line up with the TOP of the embossed piece and be centered between the two sides.


9.  Attach the two small banners.  Attach them so they are about 1 inch from the bottom of the big banner, lining up the patterned papers of the small banners with the patterned paper of the large banner as shown in picture.  


10.  Attach sentiment over the two smaller banners so that the top of the sentiment is approx 3/4 of an inch from the top of the card.  


11.  Add one gem ( Z1752 - Sparkles Clear Assortment ) to each of the four "corners" of the sentiment - on the Ruby one - and you are DONE!


I have an extra seven card kits left if anyone wants to put one of their own together. The price includes the card kit - pre-cut and pre-stamped - plus an envelope for mailing out to whomever you want.  :-)

There are two options available - one if you want to pick the kit up, the other if you are from out of town and want it mailed to you.


Card Kit

30 March 2014

Heartified: Christmas in March? Why not!

Have I ever mentioned I LOVE Christmas?  Especially making Christmas cards?

Well, this one by Barbara Anders caught my eye on Pinterest and since I still have some scraps of the Sparkle and Shine patterned paper, this seemed like the ideal card to use some of those up.  :-)


Supplies (all CTMH unless specified):
Stamp Sets: D1562 Frosted Card Making Workshop
Patterned Paper: Sparkle and Shine
Cardstock: Ruby, Colonial White
Inks:  Ruby
Embellishments: Z1330 Mistletoe Assortment, Z1104 Sparkles

Heartified: Spiders to Snowflakes

I absolutely loved this card by Melinda Spinks when I found it on Pinterest!  Simple but lots of character.  I'm not much for Halloween but I definitely love Christmas so I turned it into a Christmas card.  Getting a very early head start to my Christmas card making.  :-)

The patterned paper I chose for the square had a lot of white in it so it didn't really pop off the white card base I used so I  distressed the edges using the ruby ink.

The snowflakes were muted a bit by stamping of on a scrap paper before stamping on the cardstock so they wouldn't overpower the rest of the card.  The snowflake piece and the round "flakes" were all popped up using dimensional adhesive.

And, of course, a little bling one each of the round "flakes".  I drew dotted lines to show the path of the falling "flake" since they really don't fall straight down.

I don't normally, but decided to dress up the inside of the card a little, too.  Trying to use up ALL the scraps that are left over after making a layout or card, so this was one way to do that.  :-)


Supplies (all CTMH unless specified):
Stamp Sets: D1480 Snowflakes ; 
Patterned Paper: Sparkle and Shine
Cardstock: White Daisy
Inks:  Ruby


05 January 2014

2013's Xmas Cards

I did five different cards this year to send out.  Here are four of the five.  I procrastinated big time this year so they are all CASEd cards.

Normally I start making my Christmas cards the day after Remembrance Day but this year I put it off until the end of November.  Bad Lisa!

I wasn't feeling overly inspired this time around so CASEing seemed the way to go and with the wonderfulness that is Pinterest, I found some that I loved. 

Of course, once I had them all addressed and mailed out - all 50 of them - I just couldn't stop making Christmas cards.  They area one of my favorite to do.  Oh well.  At least I have a jump on next years cards.  LOL

So .... without further adieu, here they are (only showing four as the fifth is using non-CTMH products).

 
This card was CASEd from Nancy and the original can be found on her blog HERE.  The only difference is the sentiment.
 
Supplies (all CTMH unless specified):
Stamp Sets: S1310 Scandinavian Wishes
Patterned Paper:  Sparkle and Shine
Cardstock:  Colonial White
Inks:  Ruby
Embellishments:  Base and Bling Red Jewels, Sparkle and Shine Washi tape


This one is from Blythe and the original card can be found HERE.    Her card was square, which I personally don't like doing.  I made it a standard size card but found that it had a lot of empty space since the card was now bigger and I didn't want to have just the numbers filling it, so I added snowflakes in between. Like the look much better.
 
Supplies (all CTMH unless specified):
Stamp Sets: D1552 Magical Days
Patterned Paper: Sparkle and Shine 
Cardstock:  White Daisy, Ruby, Silver Glitter
Inks:  Black, Ruby
Embellishments: 
Other:  Scallop circle punches (SU) 


This one was from Lorrinda.  It was a card she did in 2012.  You can view the original HERE.  The fun part is that she CASEd the card from Lisa Stenz, one of my fave CTMH Consultants.  Lisa's blog can be found HERE.
 
Supplies (all CTMH unless specified):
Stamp Sets: don't remember
Patterned Paper:  Frosted
Cardstock:  White Daisy, Frosted Turquoise
Inks:  Black
Other: Art Philosophy  and Artiste Cricut cartridges

 
Another fave CTMH Consultant with big talent is Vicki and this card is CASEd from here.  The original card is HERE.  I didn't have the right border punch for the card so just used my scallop border punch instead.
 
Supplies (all CTMH unless specified):
Stamp Sets: C1560 Wintry Wishes
Patterned Paper: Frosted 
Cardstock:  White Daisy, Crystal Blue
Inks:  Black, Crystal Blue
Markers:  Crystal Blue
Embellishments:  Bling Buttons, Silver Glitter Gel
Other:  Branch punch (Martha Stewart), Scallop border punch


21 August 2011

Treasure Life for charity

I made a set of cards for a charity ball that is occuring next month here in the city.  They have an auction and a couple of friends of mine attend and asked if our stamping group would be interested in making some cards to donate.

Of course we said, "Yes!"  I forgot to bring mine for show and tell on stamp club night but the card sets from the other girls were amazing!  Mine seem plain in comparison but that is the look I was going for.  :-)


I used the "Treasure Life" stamp set (it is soooo versatile!).  I have seen various versions of this card on different blogs so I really don't know who to give credit to.  I decided on different colors for each different sentiment, just to mix things up a little.

There are sparkles along the top edge of the black ones but didn't place the card properly to see them in the picture.  (I messed up on two of the black ones when drawing the borders on the card so had to embellish the ooopsies!)

I made a total of 20 cards, 4 of each color/sentiment with matching envelopes and I'm going to put them in two groups of 10.  Now I just have to make boxes to put them in!

Supplies (all CTMH unless specified)
Stamp Sets:
Cardstock:
White Daisy
Inks and markers:
Lagoon
Black
Cranberry
Pacifica
Pansy Purple
Embellishments:
Z1290 - Sparkles

29 May 2011

6x6 Thank You Card

If you ask me, one can never have enough "Happy Birthday" and "Thank You" cards so I decided it was time to add to my collection of "Thank You" ones the other day. 

I based the card on a Becky Fleck card sketch from March of 2011.  I love how it turned out for the most part.  I really should have inked the edges of the patterned paper I used on the background to make it pop more against the cardstock base.  Oh well ... Note to self:  Lay the paper on the cardstock BEFORE adhering it next time to see if  inking is needed. 


This shot shows you the tiny bits of bling a little bit better on the card.  I had originally put an opaque on every second piece of 'lace' that jutted out BUT there were an odd number of pieces jutting out so there were two spaces left and it looked silly.  Another "Note to self" moment!  Argh!  


Supplies (all CTMH unless specified):
Cardstock:
Bamboo, Vanilla Cream and Black
Patterned Paper: 
Stamp Sets: 
Embellishments: 
Other: 
Black Ink
1.25" circle punch (Stampin' Up)

Card instructions:
1.  Cut Bamboo 12x12 cardstock in half and score that piece in 1/2 so you end up with a 6x6 card base.
2.  Cut Bliss pattened paper sheet into a 5.5"x5.5" square.  Ink edges (LOL) with Black Ink and adhere to card base front. 
3.  Cut a 5" circle from Black cardstock. 
4.  Cut a 4.5" circle from Bamboo cardstock.  Stamp with lace edge image from Simple Memories stamp set.  Ink edges of circle and adhere to black circle.  Mount on card base.
5.  Stamp "Thank You" image from Salutation Seals stamp set on Vanilla Cream cardstock and punch out using 1.25" circle punch (or with scissors).  Ink edge.  Adhere to center of round lace image.
6.  Adhere Pearl Opaques to each lace piece of image. 

22 May 2011

Desk Set with Instructions

I craft once a month with a wonderful group of ladies!  Usually one of the group each month brings something paper crafted for the whole group.  Last month a bunch of them brought paper crafty goodies with Easter themes for everyone in the group.  A couple of us decided we needed to do something this month since we didn't bring anything last month.  :-)

The month got away from me, of course, and when the reminder about group night showed up, panic mode set it.  It was then a race to find something quick and easy but fun to make for them.

This is what I came up with:


A personalized post-it note holder - pretty and functional.

It's a quick project that is also useful.  I found this idea on another blog but made it my own.  The original project has a ribbon tied around the top above the post-it note pad but I decided to just put a line of bling on it, just above the monogram.  I love the more simplistic look it gives. 

If you've got a dollar store near you, that is the best place to find the 4x6 acrylic frames that are used for this. 

You can see from the side view how it would sit on your desk. 

I just cut a 4x6 pieces of the Sophia papers - which happened to go so well with the colors of the post-it note packs I picked up.  I opted not to buy dollar store post it notes for this as they never seem to come apart or stick as well as the name brand ones.

Anyway ... slide the paper into the photo frame. 

I then cut mats for the monogram pieces that closely matched the color of the post-it notes.  Mine measure 2.25x2.25 inches.  The monograms are then stamped onto 2x2 inch pieces of White Daisy cardstock and the edges of each piece are inked.  The stamp set I used on this one is the Bohemian Alphabet, which I love.  The swirl (and flower I stamped onto each post-it note pad) is in the same stamp set! Bonus!

I adhered the post-it note pad to the acrylic frame using our Tombow Adhesive, just running a strip along the top of the back of the pad.  I mounted it, leaving a 1/4 inch space along the bottom and right hand side of the frame.  (You could also, maybe, just remove the brown paper backing of the post-it notes and adhere it using the post-it note's adhesive so once the pad is used up, it would be easier to add a replacement.  I didn't think of that until just now, of course!  *LOL*)

The monogram square/mat is then mounted, centered in the space to the left of the pad, using the top edge of the pad as the top border. 

Just add some bling in a straight line centered above the monogram and you're done!  I mounted mine so the bottom of the bling was about even with the top of the note pad.  Well, as close as I could eye-ball it, anyway!  LOL

08 May 2011

April DT Projects

These ladies amaze me month after month.  How about you???

For April, I gave each of them papers from the Sophia Level 2 Paper Pack (X7131B), Blush Buttons (Z1370), White Daisy Ric Rac, Pearl Opaques (Z1336), and Hollyhock Ribbon from the Hollyhock Ribbon Collection. 

Their challenge was to create something, anything BUT it had to have a minimum of two circles included in it.  I think they went above and beyond  with that part of the challenge.  :-)

Here are Nikki's creations.  A plethora of cards that are super cute and bright and definitely would bring a smile to anyone who receives one. 


Here is Irma's creation for the month. 

An uber cute Easter treat holder.  She also used the March Stamp of the Month, Sensational Season, inside and out.  Adorable. 


For May, I have given them papers from the Miracle Level 2 paper packet as well as some of the Kraft borders.  I forgot to write down the rest so it will be a surprise to me too once they've completed their May creation.  LOL  No challenge for them for May, though, but it will be a layout that they will be working on. 


04 February 2011

The Bride (and a winner!)


I did this layout for my step-daughter's wedding album and LOVE how it turned out.  The Wings paper pack is sooooo my style.  Anything with butterflies is alright in my books.

This layout is also based on the sketch for the January 2011 Challenge that I had posted.  I turned the sketch upside down to make it work better for how I wanted it to look.  :-)

Supplies Used (All CTMH unless otherwise noted):

Patterned Paper:  Wings Level 2 paper pack
Inks:  Black
Punches:  Martha Stewart Corner Punch, Stampin' Up and Fiskars
Bling:  Queen and Co. and Kaiserkraft
Flowers: Prima
Stamp Sets: 
B1269 Journaling Jots (retired)

PS:  Since I promised a winner ....

The winner of the random drawing for the 100+ sheets of CTMH patterned paper is


Kathy C!

Congratulations, Kathy!  I will be contacting you soon to get your papers to you.  :-)

To see some of the layouts that were shared on FB, check out CTMH with Lisa and click on Photos

15 December 2010

Christmas Card time!

I am FINALLY done making my Christmas cards.  I did 68 this year.  Whew!  I don't normally do that many, but every 5 years I do everyone.  This year was extra special because I wanted to send pictures from my son's wedding this summer to those who could not make it or who I thought might like a couple of them.  (Yeah, I'm a proud mama!)

I based this card on one by K Werner who based her card on this one.  I just couldn't leave the original design alone and had to add inking to the white edges and around the stamped circle images.  It still wasn't sitting right with me so I punched out circles and mounted the images inside the circles leaving enough space so the background showed through a bit.  A little bling in the middle of each snowflake and I was finally happy with the end result.


Supplies:
Stamp sets:
B1194 Music of Winter (retired)
B1357 All the Best (Mistletoe Workshop on the Go exclusive stamp set)
Cardstock:  Sweet Leaf, White Daisy
Inks: Cranberry, Clover Meadow
Ribbon: Cranberry Grosgrain
Embellishments:  Z1104 Sparkles

This one is a simple one and I just had no creative ideas so lifted it from Vicki Wizniuk who lifted Andrea Walford.  I changed mine out a bit because I didn't want the bulk of the buttons so just stapled my ribbon to the card instead.  I didn't add the bling along the scallops, either, opting instead to just use a punch that included holes in the scallops so the background shows through.


Supplies:
Stamp Sets:
D1384 Snow Flurries (sentiment)
Ribbon: Cranberry Grosgrain
Ink: Black
Cardstock: White Daisy, Cranberry, New England Ivy, Olive

Vicki Wizniuk proved inspiration for this one, too.  She is amazingly talented on her own but she also has an amazing talent for finding other amazing talent.  So ... I CASEd Vicki and she CASEd Connie Collins who CASEd it from a card she saw in Paper Crafts Holiday Cards & More (vol. 5).
                                       

Supplies:
Cardstock: Colonial White, Ponderosa Pine
Patterned Paper: X5802 Holiday
Stamp Sets:
C1379 Holiday Commentary

This one was totally lifted from the founder and CEO of Close To My Heart, Jeanette Lynton! 


Supplies:
Cardstock: Chocolate, Colonial White
Patterned Paper: X7130B Mistletoe
Stamp Sets:
C1379 Holiday Commentary
B1357 All the Best (Mistletoe Workshop on the Go exclusive stamp set)

All the designs were lifted in whole or in part from somewhere and I've given credit where I remembered where the idea came from.  I was just not feeling inspired this year and it was getting down to crunch time.  I am not ashamed of using the talents of other amazing crafters!  My name is Lisa and I am a CASEr!

Isn't it amazing how one good idea can spread from person to person and each one puts their own spin on it? 

Which one will YOU get if you're on my list?  You'll just have to wait and see!  :-)

Happy Holidays and Merry Christmas to everyone!

11 October 2010

September Design Team Projects

For September the girls were given products from the Magnifique collection of papers. My favorite of all the paper packs in the Idea Book!!!

They were given papers from the X7127B Level 2 Magnifique Paper Pack

Here is the layout from Nikki.  I love what she did with the products!  Using strips of cardstock to frame both her photo and the page is fun and her photo is amazing, too!


This is Irma's double page spread.  Love the stitching on it and the paper hat is adorable.  So cute!


I can't wait to see what they come up with for October!!!