Pages

Showing posts with label Cricut - Art Philosophy. Show all posts

12 October 2014

First Birthday Card

I had given my grandson a store-bought card for the actual day of his First Birthday but when it came to party time, I just had to make it from scratch.  

Most of his room and many of his clothes are monkey themed so, of course, monkeys had to be a big part of the card.  

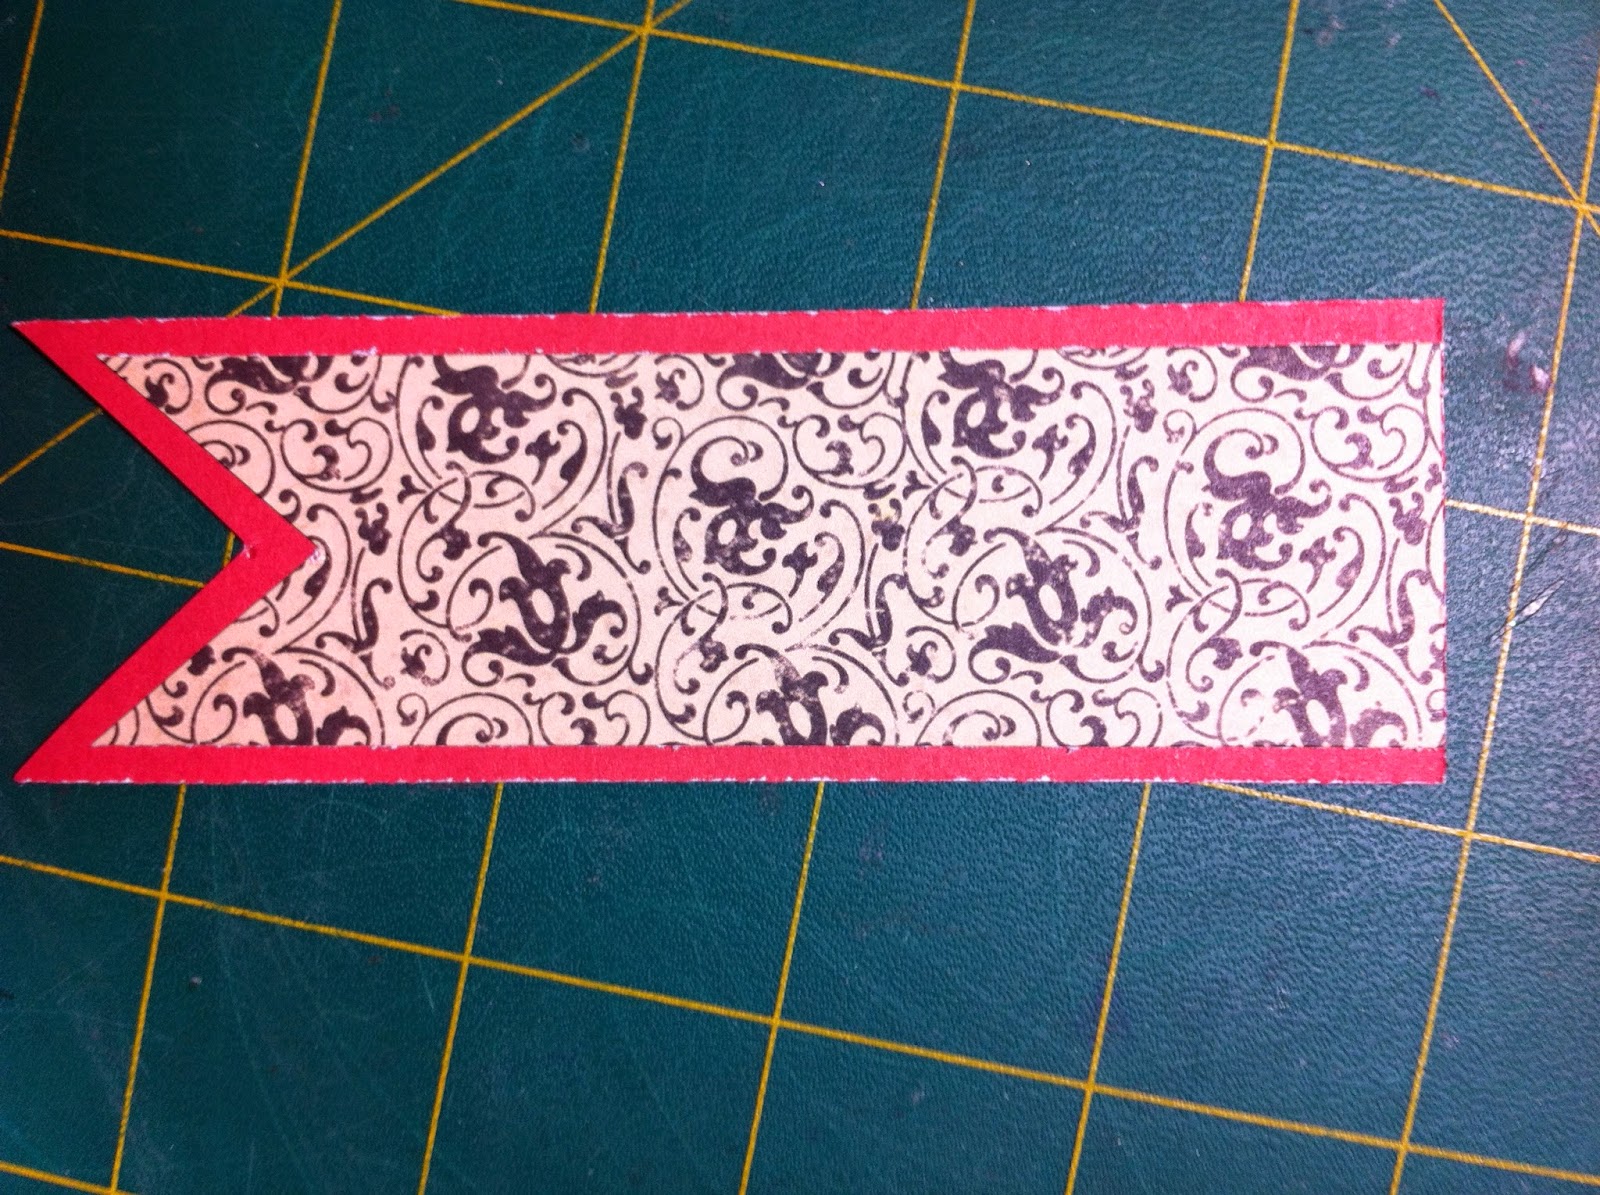
I cut the 1 and the # piece with our Art Philosophy Cricut cartridge using our Chocolate and Sky cardstock. The banners I just did by hand.  Those adorable little monkeys are from our (C1558) Wild Wonders stamp set, using Chocolate and Sky ink - an easy way to get just the right background for the card.  All edges have been inked with Chocolate ink, as well, just to give the card a little more dimension.

I also popped up the #1 with 3-D Foam Tape for a little more ooomph.  

Happy Birthday in Chocolate is from our (D1560) Holiday Tags stamp set.  


Just LOVE how the whole card came out .... and I didn't even use any bling!  Totally out of character for me.  Bling usually finds it's way onto my cards.  :-)

Thanks for looking!!!!

24 August 2014

Make and Take card directions from Open House

For all you lovely ladies who were not able to make it to my Open House, here are the directions to put your card together.

1.  Make sure you have all the pieces. (Somehow I forgot to put some pieces in some of the envelopes so hopefully you got a complete one LOL)  The card base is cut from Champagne cardstock, the reds are Ruby cardstock and the patterned papers are from the NEW Yuletide Carol paper pack which I am finding VERY versatile and not just for Christmas papercrafts.


2.  Attach the sentiment to its base so that it is centered.  The sentiment is D1542 - For a Friend.  This stamp set coordinates with the CTMH Cricut Art Philosophy cartridge.  I stamped the sentiment in Ruby Ink.


3.  Attach large banner to it's corresponding base so that the top of the two pieces line up - as shown in picture.  

4.  Do the same with the small banners.  The small banners you will need to start at the pointy ends to have a little space showing - as in picture - as there may be some trimming needed  at the top in some of the kits.


5.  Emboss your rectangle of Colonial White cardstock with your favorite embossing folder.  I used the CTMH Floral one.  I am LOVING our embossing folders.  They get a really deep impression and the folders are larger than what I've found with other manufacturers.  LOVE LOVE LOVE!!!!


6.  Attached embossed piece to the Ruby cardstock rectangle.  


7.  Attach that piece to the card base.  


8,  Attach large banner to the card.  The top of the banner should line up with the TOP of the embossed piece and be centered between the two sides.


9.  Attach the two small banners.  Attach them so they are about 1 inch from the bottom of the big banner, lining up the patterned papers of the small banners with the patterned paper of the large banner as shown in picture.  


10.  Attach sentiment over the two smaller banners so that the top of the sentiment is approx 3/4 of an inch from the top of the card.  


11.  Add one gem ( Z1752 - Sparkles Clear Assortment ) to each of the four "corners" of the sentiment - on the Ruby one - and you are DONE!


I have an extra seven card kits left if anyone wants to put one of their own together. The price includes the card kit - pre-cut and pre-stamped - plus an envelope for mailing out to whomever you want.  :-)

There are two options available - one if you want to pick the kit up, the other if you are from out of town and want it mailed to you.


Card Kit

15 February 2014

Babycakes featuring my handsome grandson

Today was supposed to be filled with meeting new people, eating pizza and a whole lot of cropping.  Did you notice the 'supposed'???

Instead of having a fun-filled day at an all-day crop, I am home with one doozy of a chest cold.  A hurts-too-much-to-cough kind of chest cold.

So, I am spending my day in the warmest room in my house - my craft room - courtesy of my dish heater.  I'm not getting as much done as I MAY have at the crop, but I am getting some crafting done.

Did this layout this morning and am working on another one but got tired of poking pieces out of Cricut cut snowflakes.  Took five minutes for one 6 inch piece and still have two to go.  LOL


Supplies (all CTMH unless specified):
Stamp Sets: D1569 Babycakes Scrapbooking Workshop
Patterned Paper:  Babycakes
Cardstock:  Colonial White, Slate, Lagoon, Sunset, Kraft
Inks:  Slate, Lagoon, Sunset
Embellishments: Babycakes Assortment, Bronze Shimmer Trim